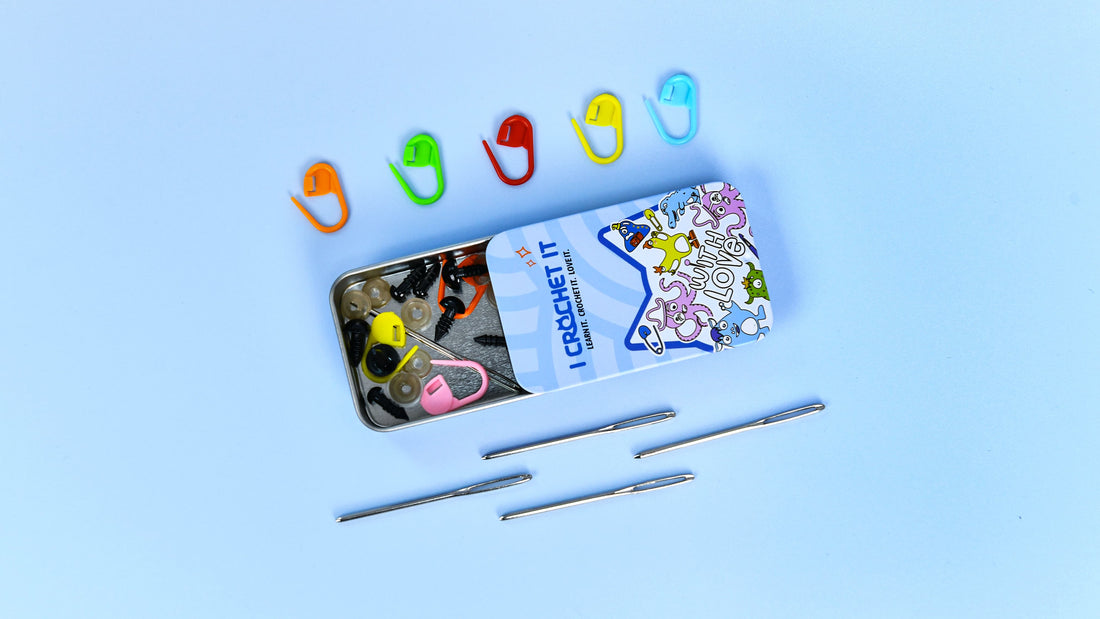
How to use the mobile needle mark buckle?
Share
When you received the weaving project, we completed the most difficult step for you - the beginning of the first lap. In this way, you can skip the first lap and start happily completing the second lap. Let's get to know this magical component together - the orange needle mark buckle.

Firstly, let's focus on the position of the orange stitch marker buckle, which indicates the position of the first stitch in the first circle. In the parallel small V, we thread the hook in and complete the first stitch. Similarly, when we turn to the second lap, the first stitch of the second lap remains at this position.

To better track the position of each turn, we need to use orange needle marks to mark the buckle. After completing the first stitch of each lap, we need to mark it so that we can clearly understand our weaving progress.
Next, we will introduce each position one by one. The second one is the position of the second needle.

The third one is the third shot.

And so on. By threading the crochet from parallel V into the small hole, we can easily complete each stitch. This method of penetration is also applicable to the fourth, fifth, and sixth stitches.
When we reach the sixth stitch, don't forget to remove the orange stitch markers one by one. In this way, we can smoothly start the next round of weaving.
Finally, to ensure the fixation of the components, we cleverly fixed them on the left hand in the same way as fixing the yarn. In this way, we can weave more comfortably and efficiently, easily handle every stitch, and complete exquisite handmade works.

I hope that through this blog, you can more confidently use mobile stitch markers to easily and happily weave your own handicrafts. If you have any questions or doubts, please feel free to email us at any time: support@icrochetit.com . Let's enjoy the charm of crochet weaving together!
