How to fix crochet and yarn?
In the art of hand crochet weaving, selecting the appropriate yarn and skillfully fixing the crochet are crucial steps to ensure the success of the handicraft. Now I will share with you some tips on how to cleverly fix crochets and yarn, so that we can easily embark on our weaving journey.
Firstly, take out the prepared yarn and crochet from your material pack. The first round is the beginning of weaving, and we have completed this step for you. You can easily skip the first lap at the bottom and let's dive into the next weaving process together. Remove the previously completed first loop, find the thread of the white yarn, and we begin to move on to the next stage of creation.
Here are some clever techniques to help you firmly secure the yarn and crochet:
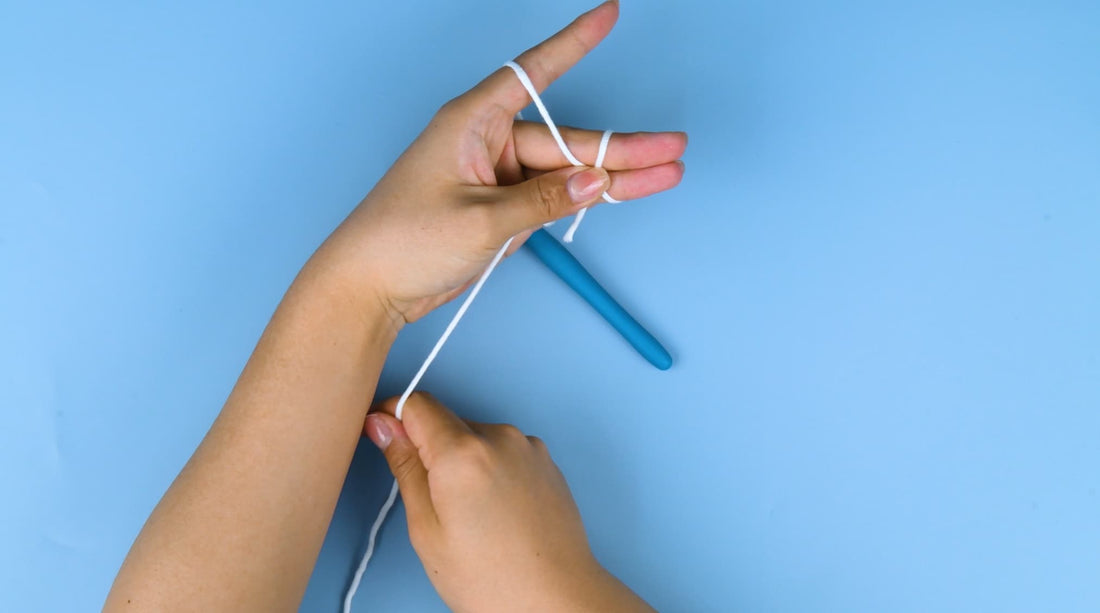
1. Place the yarn with the palm of the left hand facing upwards and the little finger position.

2. The yarn is wound from top to bottom, then from the back of the hand to the position of the index finger, located at the first joint of the index finger.


3. After fixing the yarn to the position of the index finger, pull it to the position of the middle finger.

4. Gently secure the yarn with your thumb and middle finger.

5. Wrap yarn around the middle and ring fingers.

6. Wrap towards the back of your hand to the crossover position and skillfully secure it with your thumb.

Through these simple and effective techniques, you can easily consolidate crochet and yarn, laying a solid foundation for handmade creations. I hope these skills can add more fun and creativity to your handmade weaving journey!